
When you set out to install a zone damper system, you have to begin with design. To help with that process, we thought we’d share our 5 rules of zoning. Use them to design a system that makes your customer more comfortable while maximizing the effectiveness of their equipment. For a deep dive into zoning system design, check out our course: Proper Zoning System Design.
When you’re thinking about how to install a zone damper system, make sure you start with this important step. Ask the homeowners some key questions to find out what they need.
First, consider the homeowner’s usage patterns. Which parts of the home do they use during the day, and which do they use at night? With remote work, you can’t make any assumptions about how the space is being used. You’ll also need to ask about entertainment needs. Is there an entertainment area that is only used on special occasions?
Next, ask about any special comfort requirements. For example, is someone in the household using oxygen? Is there a room such as a man cave, library, or smoke room, that has specific comfort requirements?
Finally, ask about the homeowner’s comfort problems. They have probably already mentioned some issues, but be sure to find out about areas that are over-conditioned or under-conditioned.
We recommend sizing your equipment to match the full load of the home or building. Sometimes contractors use zoning to compensate for undersized equipment. This can work to resolve some of the homeowner’s comfort needs. However, on extreme temperature days, the equipment may not be able to keep up with the demands of the whole building. If you undersize the equipment too much, you’ll have unhappy customers.
You should also avoid oversized equipment. If the equipment is oversized or if there is not enough ductwork for the equipment capacity, and you add zoning, you’re going to run into serious issues. Your equipment could short-cycle, and you could potentially freeze the coils. So, make sure you do your load calculations.
You’ll also need to do a block load calculation for each of your zones. If the ductwork for a specific block is undersized, zoning can help increase the amount of conditioning to that area. However, some situations where airflow is severely limited require a ductwork fix.
The existing thermostat is often in a hallway in the main part of the house. You’ll need to move that thermostat so that it accurately reads the zone you’ve created. Even if the hallway is part of the zone, you want the thermostat in the part of the zone that is most used.
If you don’t have wires where you need them, and you don’t want to use wireless thermostats, you can leave the thermostat in the hallway and get a wireless sensor that works with the thermostat to read the temperature in the actual zone.
You may want to ask homeowners to decide where they want their thermostats. One contractor we’ve worked with likes to give homeowners wireless thermostats and let them spend a week thinking about where they’d like them to be. Then he goes back and installs the thermostats in those locations. Homeowners will choose the areas where they spend their time, and will not put thermostats in unused spaces.
Think about placing a thermostat in the main bedroom. You’ll be giving the homeowners the convenience of adjusting the temperature in the place where they probably sleep. After all, the person paying for the zoning job probably spends a lot of time in this room. They deserve their own thermostat! If they’re not sleeping comfortably after zoning, they’re not going to be happy.
If you design your system with zones that are too small, you can have major problems. You’re pushing too much air into ductwork that is not designed to handle it. Tiny zones cause a few important issues. They can result in objectionable air noise. The equipment can satisfy the zone too quickly, causing over-conditioning. And the air in the duct can become too hot or too cold because too little air is moving across the heat transfer surfaces.
To avoid small zone issues, calculate the minimum zone size for the system. For single-stage blowers, you’ll want to make the smallest zone at least 35% of your total CFM. For two-stage blowers, you can make the smallest zone 25% of your total CFM when you use the zone weighting feature to disable W2/Y2.
Our most common zone damper is the round EzySlide®, which can be installed in about 2 minutes. To install the round EzySlide, just cut a triangle out of the duct, put the EzySlide inside, and secure it with 4 screws. After that, you’ll connect each damper to the zone control panel with pneumatic tubing. (Our pneumatic dampers are what makes Arzel Zoning installation so much easier than you thought it was!)
Our rectangular EzySlide® damper is almost as quick to install as the round version. Install the rectangular EzySlide by making a rectangular cut-in. Then insert the damper, and secure with screws. As long as you’re working with metal ductwork, you’ll never have to pry ductwork apart to wedge a sleeved damper in. (We do have dampers in sleeves available for use with flex duct and other non-metal ductwork.)
If you have limited access to the ductwork, try a specialty damper. You might need our insertable InsertaDamper®, our foldable EzyFit damper, or our RegiDamper® that fits under the register cover. These dampers are great options when you have access to almost all of the ductwork, but one run is covered by drywall. Here’s more about how to install dampers in existing ductwork.
The next step in how to install a zone damper system is installing the zone control panel. Be sure to read the manual for complete details. First, you’ll mount the control panel on an exterior wall. Then, you’ll connect the panel to the tubing for each zone, and connect to the thermostats, equipment, transformer, and sensors.

How Many Stages Can the Pro Panel Control? The Pro Panel can handle up to two stages of cooling and up to four stages of heating. It can control multi-stage furnaces, air conditioners, and heat pumps. For example, it can control a two-stage heat pump with two stages of electric heat strips. Or it can […]
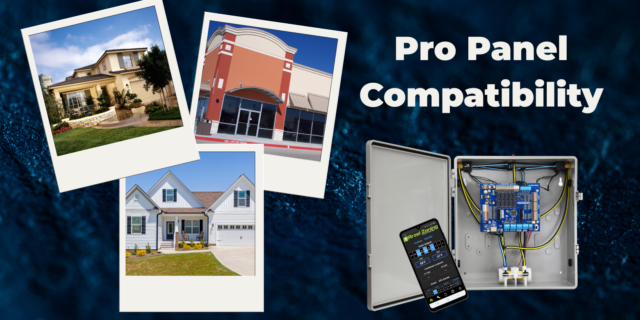
The Pro Panel is a universal zoning system. That means it can control every type of equipment: conventional furnace and air conditioner, split and package geothermal, heat pump, dual-fuel systems, and all-electric systems. The Pro Panel works with multi-stage equipment too, up to 4 stages of heat and 2 stages of cooling. We worked to […]

There are three main steps to installing a Pro Panel zone control system: Install the dampers and tubing. Install the panel and thermostats. Connect to the Arzel Pro app to configure the Pro Panel for your installation. After you complete these three steps, your customer will feel the difference immediately. This is one of our […]
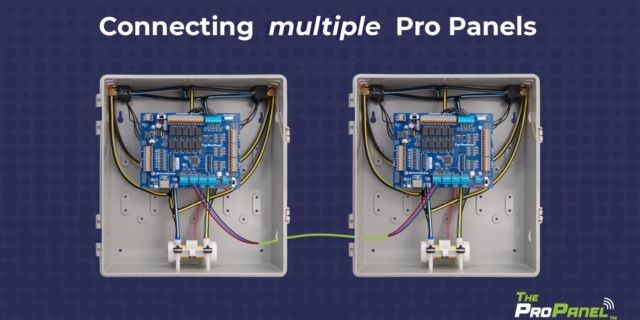
Our new Pro Panel control can zone up to 16 zones. That’s twice as many as our biggest AirBoss, and four times what our HeatPumPro can do. With 16 zones possible, the Pro Panel can be a zoning solution for more light commercial buildings and large houses. On top of the additional zones that are […]